Painting over wallpaper is technically possible — and sometimes it is the right call. But it comes with real risks that most homeowners only discover after the paint has gone on. The moisture from water-based paint can cause wallpaper seams to bubble, edges to lift, and patterns to telegraph through multiple coats. In Melbourne homes — particularly older properties in inner suburbs where wallpaper may have been applied directly to plaster — painting over wallpaper often creates a bigger problem than it solves.
Here is the professional assessment of when painting over wallpaper is acceptable, when removal is the only sensible option, and exactly how to handle both scenarios correctly.
Should You Remove Wallpaper Before Painting? The Short Answer
In most cases, yes — remove wallpaper before painting. Painting over wallpaper risks bubbling seams, lifting edges, and pattern bleed-through. Removal followed by proper wall preparation gives a far superior result that lasts longer and looks cleaner. The exception is commercial-grade wallpaper that is fully adhered with no loose seams or edges — in those specific circumstances, painting over can be a viable approach when done correctly.
The Risks of Painting Over Wallpaper
Before deciding to paint over wallpaper rather than remove it, every homeowner should understand exactly what can go wrong — and why these problems are so common even when the wallpaper appears to be in good condition.
Moisture causes bubbling
Water-based paints — which account for the vast majority of interior paints used today, including Dulux wash-and-wear products — introduce moisture directly into paper-based wallpaper when applied. This causes the paper to expand unevenly, creating bubbles and lumps beneath the paint film. Even if the surface looks perfectly smooth on day one, bubbles frequently appear as the paint cures over the following one to two weeks. Once formed, these bubbles are permanent unless stripped and repainted from scratch.
Seam visibility
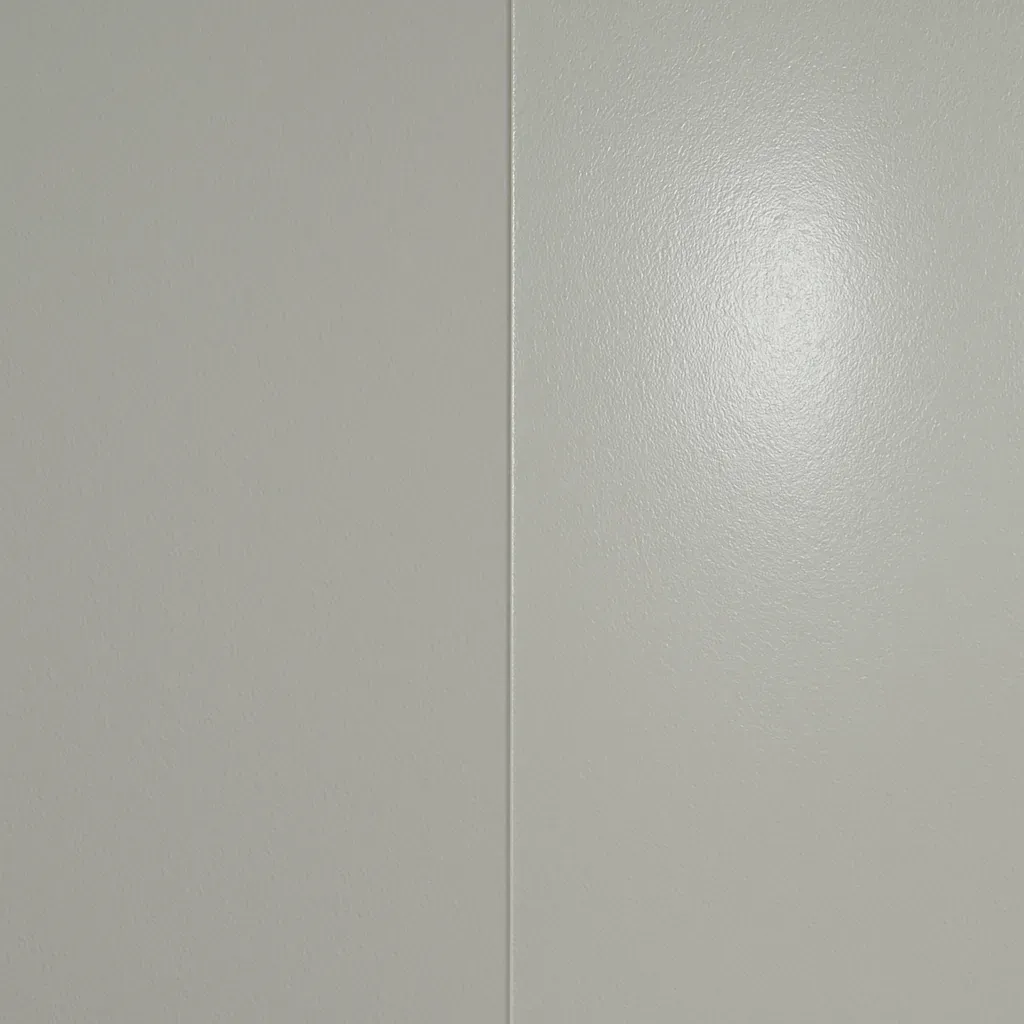
Paint highlights rather than hides wallpaper seams. Each seam creates a physical step in the wall surface — even a step of less than one millimetre becomes clearly visible under natural light, particularly the raking afternoon light common in Melbourne’s north-facing rooms. No amount of filling or extra coats eliminates this completely when the underlying seam is still present.
Pattern telegraphing
Heavy embossed patterns or textured wallpapers show through paint, often dramatically so. Multiple coats reduce the visibility of texture but rarely eliminate it. If you are trying to achieve a smooth, flat wall surface — the standard expectation in modern Australian interiors — painting over a textured wallpaper will almost never deliver the result you want.
Future removal nightmare
Wallpaper that has been painted over is far harder to remove later. The paint seals the surface paper, preventing moisture from penetrating to dissolve the paste underneath. What would have been a straightforward afternoon removal job becomes a days-long scraping project involving chemical strippers, multiple applications of hot water, and considerable risk of plaster damage.
Key takeaway
Important:Paint applied over wallpaper effectively locks it in permanently. If you ever want smooth walls in the future — which almost every homeowner eventually does — it is much easier to remove wallpaper before painting than after.
When Is Painting Over Wallpaper Acceptable?
There are specific circumstances where painting over wallpaper is a defensible professional decision rather than a shortcut. These situations are the exception, not the rule.
- Commercial-grade vinyl wallpaper that is factory-bonded and fully adhered — if every seam and every edge is perfectly tight with zero lifting, and the surface is smooth vinyl rather than embossed paper, it can be primed and painted with acceptable results.
- Short-term rental or sale properties where timeline and budget do not permit full removal — in this context, a primed-over wallpaper finish may be good enough to serve the immediate purpose, with the understanding that a future owner will likely need to remove it.
- Wallpaper stuck directly to bare plasterboard with no plaster skim coat underneath — in some post-war Melbourne homes, wallpaper was applied directly to the paper face of plasterboard. In this case, removal risks tearing the plasterboard face paper and creating an extremely difficult repair situation. Painting over may genuinely be the lesser evil.
- Two-layer wallpaper situations where the outer decorative layer is adhered to a base layer that is itself well adhered to sound plaster — in some cases stripping the outer layer but painting over the base layer is a viable approach.
In all of these circumstances, the process still requires correct preparation: use an oil-based primer rather than water-based, seal all seams with seam adhesive before priming, then apply a minimum of two topcoats.
How to Paint Over Wallpaper (If You Must)
If your situation falls into one of the acceptable categories above, follow this professional process carefully. Shortcuts at any stage will result in visible failure.
- Assess every seam and edge — Walk the entire room and press every seam and every edge. Stick down any loose sections with seam adhesive — a water-based PVA seam product is appropriate here since you are applying it directly rather than over the top. Allow all adhered sections to dry completely before proceeding.
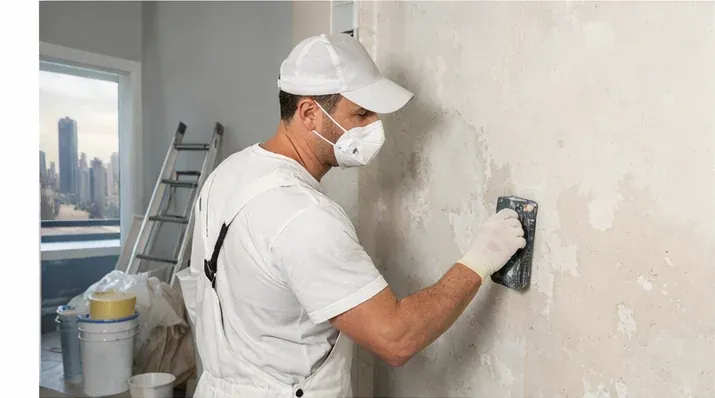
- Fill gaps and imperfections — Fill any visible gaps at seam edges, holes in the wallpaper, or deep embossed texture with a skim coat of joint compound (plaster filler). Apply thinly and feather the edges. Allow to dry fully.
- Sand lightly — Sand the filled areas and any pronounced seam ridges with 120-grit sandpaper to reduce the physical step at seams and smooth the joint compound fills. Wipe down with a damp cloth and allow to dry.
- Apply an oil-based primer — This is the most critical step. Do not use a water-based primer — it will introduce moisture and cause immediate bubbling. Use Zinsser B-I-N (shellac-based) or an alkyd oil-based primer. These products seal the wallpaper surface without moisture transfer. Apply a full, even coat covering every section of wallpaper.
- Allow primer to dry fully — Oil-based primers require a minimum of 24 hours drying time — longer in Melbourne’s cooler months or in poorly ventilated rooms. Do not rush this step. Applying topcoat over uncured oil-based primer causes adhesion failure.
- Apply two coats of water-based topcoat — Once the primer is fully cured, apply two full coats of your chosen water-based paint — a Dulux low-sheen or low-gloss finish is recommended for living areas and bedrooms. Allow full drying time between coats.
Manage Your Expectations
Even following all six steps precisely, painting over wallpaper rarely achieves the same smooth result as painting over properly prepared plaster. Visible seams under raking light are almost always detectable. This process represents the best achievable outcome — not a perfect outcome.
How to Remove Wallpaper Before Painting
For most Melbourne homes, full wallpaper removal followed by proper wall preparation is the correct approach. Here is the professional process, step by step.
- Identify the wallpaper type — Determine whether you have vinyl-coated wallpaper (has a water-resistant top face that feels slightly plastic), paper-faced wallpaper, or fabric-based wallpaper. Vinyl-coated has a top layer that must be dry-stripped or scored before soaking will be effective — water simply cannot penetrate a vinyl surface.
- Score the surface (vinyl wallpaper only) — Use a scoring tool to create small perforations that allow removal solution to penetrate through the vinyl face to the paste beneath. Apply light, even pressure — do not over-score, as this damages the plaster or plasterboard surface beneath and creates extensive repair work.
- Apply removal solution — Mix warm water with a dedicated wallpaper stripper solution (available at all hardware stores) or warm water with white vinegar as a DIY alternative. Apply generously by spray bottle or sponge, working in manageable sections of approximately one metre square.
- Wait for paste to soften — Allow 5–15 minutes for the solution to penetrate and soften the paste. The soaking time varies with wallpaper age and paste type — older installations typically require longer soaking. The paper should feel soft and slightly slack when it is ready to strip.
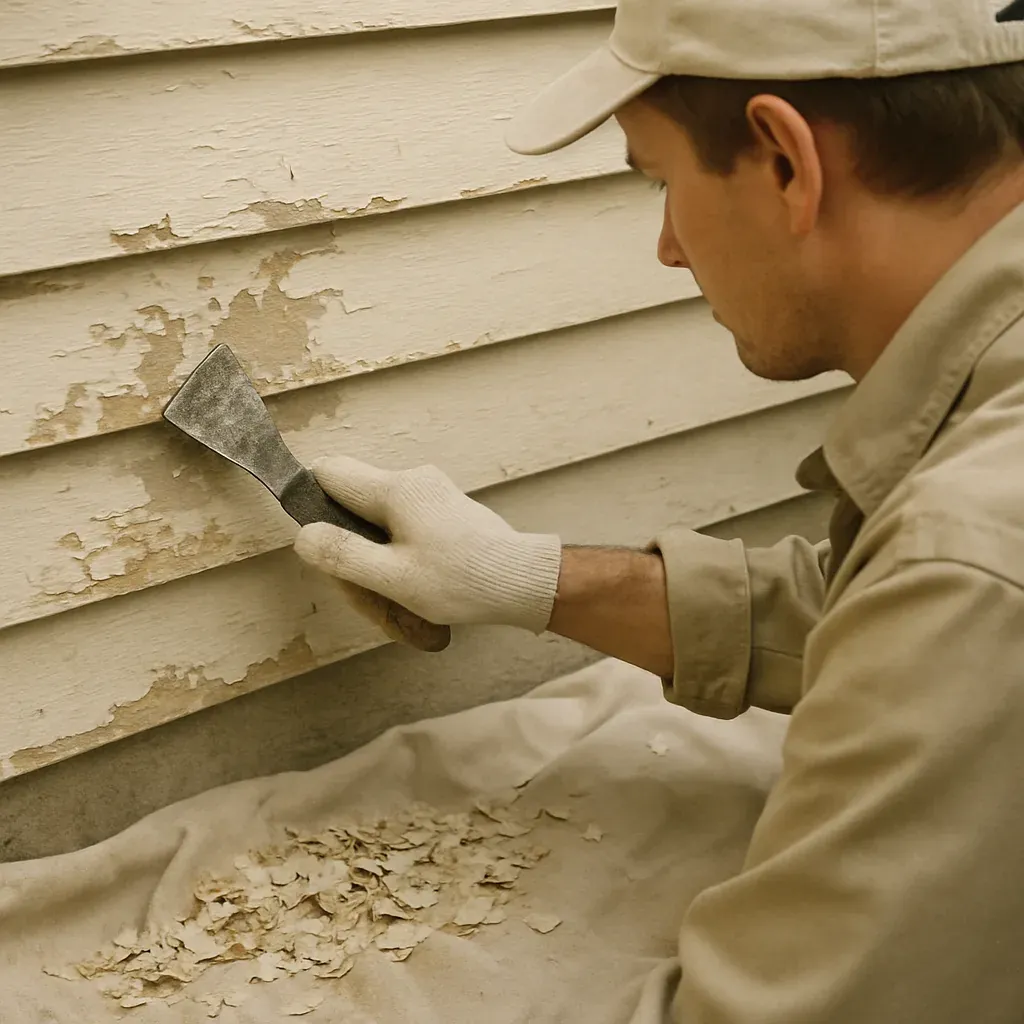
- Strip with a broad scraper — Use a broad plastic or flexible metal scraper to remove the softened wallpaper. Work in sections, re-soak any areas where the paper tears or resists. Plastic scrapers are preferable on older lime plaster walls as they are less likely to gouge the surface.
- Wash the wall thoroughly — Remove all paste residue with clean warm water and a sponge, working in sections. This step is non-negotiable — paste residue left on the wall causes complete paint adhesion failure. The wall should feel smooth and clean with no tacky sections.
- Allow to dry completely — Allow 24–48 hours drying time before any further work. In Melbourne’s cooler months, or in rooms with poor ventilation, allow the longer end of this range. Painting onto damp plaster causes blistering and adhesion failure.
- Skim coat and repair — Fill all gouges, smooth ridges left from paste, and repair any sections of damaged plaster with joint compound or a bonding plaster product. For extensive damage, a professional plasterer may be required before painting can begin.
- Sand, prime, and paint — Sand the repaired surfaces smooth, apply a suitable water-based or oil-based primer to the bare plaster, allow to dry, then apply two topcoats of your chosen paint. This final sequence is where the quality of the finish is determined — do not skip the primer on bare plaster.
Melbourne Heritage Plaster: Extra Care Required
In Melbourne homes with older horsehair plaster or lime render walls — common in properties built before the 1950s in suburbs like Fitzroy, Carlton, Richmond, and Hawthorn — wallpaper removal must be done with particular care. The plaster beneath is often fragile and can crumble or detach if soaked too aggressively or too quickly. Work in smaller sections and use less soaking solution than you would on modern plasterboard walls.
The Cost of Wallpaper Removal in Melbourne
Professional wallpaper removal in Melbourne is priced per room and varies based on several factors. Understanding these factors helps you interpret quotes accurately and budget realistically for the full project.
$200–$600
Typical cost per room for professional removal
1–3 days
Typical time for removal + wall prep per room
The key factors that push cost toward the higher end of the range include:
- Number of layers — a second layer beneath the decorative layer adds significant time and increases cost considerably
- Wallpaper type — vinyl-coated is more labour-intensive than plain paper
- Age of paste — older paste that has hardened and bonded tightly to the plaster requires more soaking cycles and more physical effort to release
- Wall condition beneath — extensive plaster damage discovered after removal increases repair time before painting can begin
Combining wallpaper removal with interior painting as a single project is more cost-efficient than booking two separate jobs. Most professional painters quote both together and price accordingly, reducing overall mobilisation costs and ensuring the preparation and painting sequence is handled by the same team.
How Modernize Solutions Handles Wallpaper in Melbourne Homes
Modernize Solutions handles wallpaper removal and post-removal wall preparation as part of our interior painting service across Melbourne. We assess whether removal is the right call for your specific walls — particularly important in older Melbourne properties with heritage plaster — and provide honest guidance on the best approach for your situation. We don’t paint over problems.
With 30+ years of experience across 1,000+ Melbourne homes, we know when removal is worth it and when working with what is already there is the more sensible option. Our team is fully insured to $20M, and we back our work with a clear, written scope before we start. As part of our residential painting service, we can manage the entire process from wallpaper removal through to final topcoat. Call 0451 040 396 to discuss your project.
Wallpaper in Melbourne Heritage Homes: Special Considerations
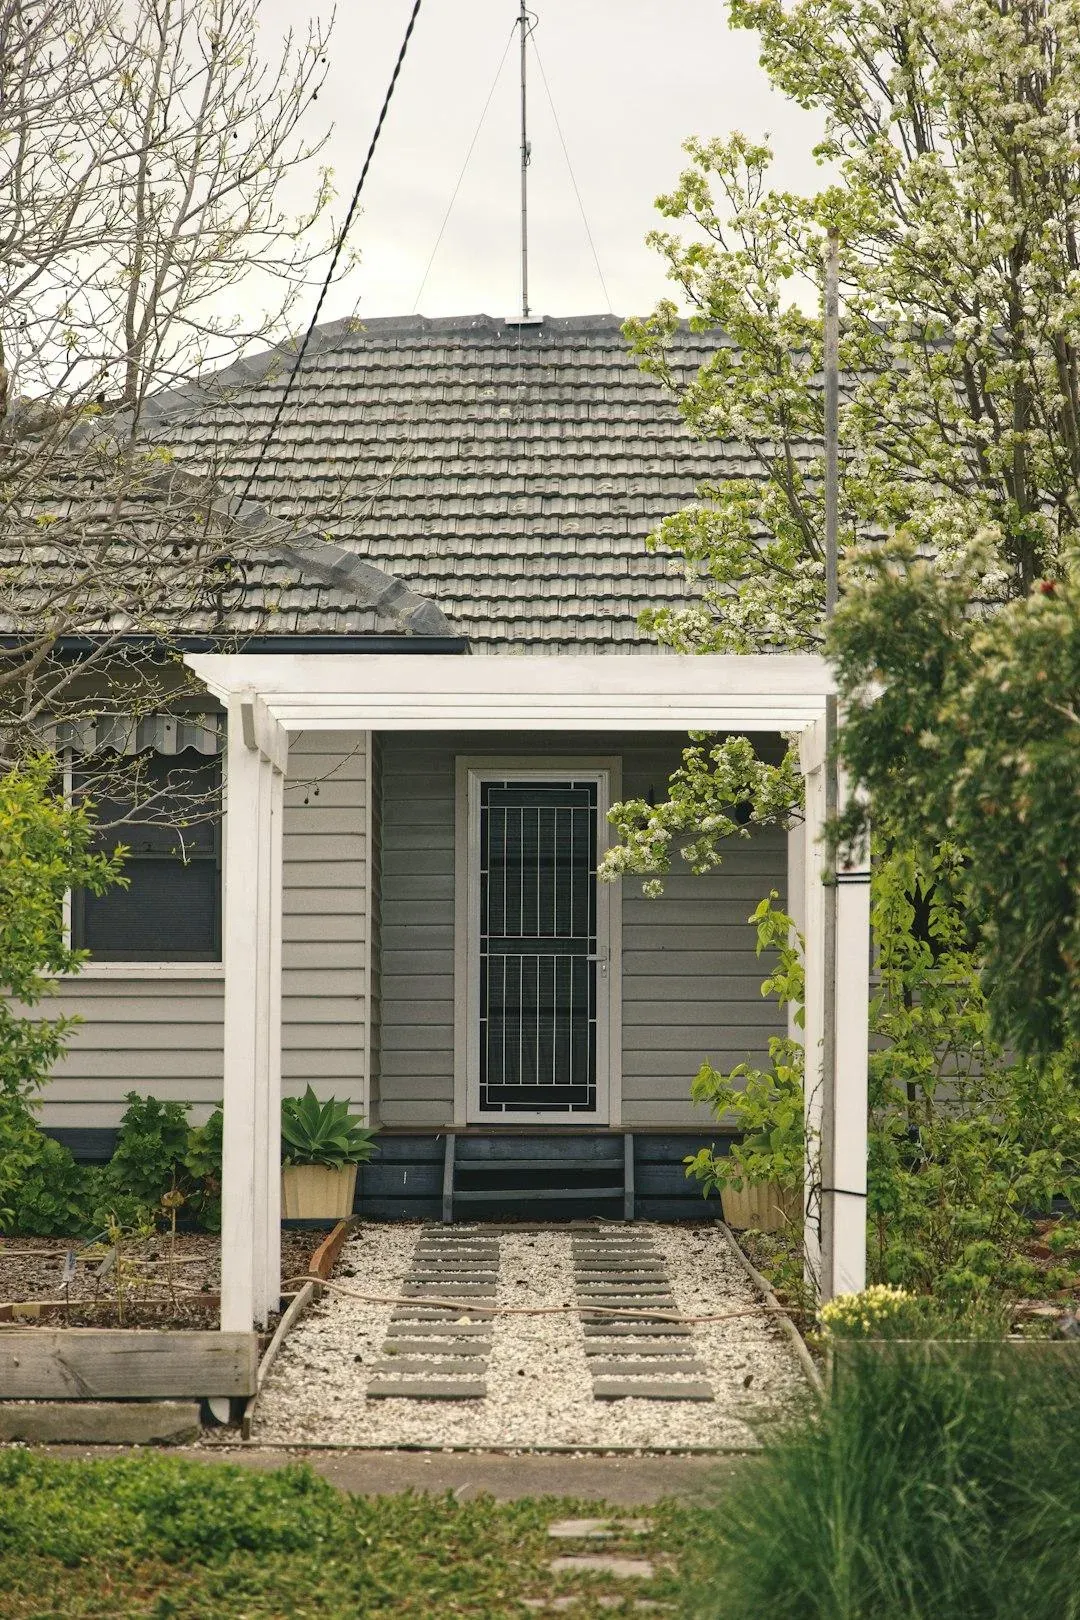
Melbourne’s inner suburbs contain a high concentration of homes built before 1970 — Victorian terraces, Edwardian workers’ cottages, and interwar bungalows in Fitzroy, Carlton, Richmond, Hawthorn, Collingwood, and Northcote. Many of these properties have wallpaper applied directly to original lime plaster or horsehair plaster, which creates specific challenges that do not apply to modern plasterboard construction.
- Lime plaster is fragile and moisture-sensitive — aggressive soaking during wallpaper removal can dissolve or delaminate the lime render, particularly in rooms that have experienced previous water ingress
- Heritage significance — in some listed properties or properties within heritage overlay zones, original wallpaper may have heritage significance in its own right. Check with Heritage Victoria or your local council’s heritage advisor before removing any wallpaper in a listed property
- Asbestos risk in plaster patching — pre-1987 plaster repair compounds sometimes contain asbestos. If you are patching plaster in an older Melbourne home, have the existing material tested before sanding
- Test removal before committing — always test removal on a small, inconspicuous area (behind a door, inside a wardrobe) before committing to full-room removal in any older home. This reveals the condition of the plaster and the difficulty of removal before you are committed to the full job
If you are working on a pre-1970 Melbourne home with original plaster walls, a professional assessment before starting wallpaper removal is strongly recommended. The cost of an hour’s consultation is far less than repairing a room of damaged heritage plaster.
Frequently Asked Questions
Can you paint directly over wallpaper?
Yes, it is technically possible to paint directly over wallpaper, but it carries significant risks including bubbling, seam visibility, and pattern bleed-through. If you proceed, an oil-based primer must be used first to minimise moisture introduction. In most cases, removal before painting produces a far superior, longer-lasting result.
What primer should I use over wallpaper?
Use an oil-based primer — not a water-based primer — when painting over wallpaper. An oil-based product seals the paper surface without introducing the moisture that causes bubbling and seam lifting. Zinsser BIN (shellac-based) or an alkyd oil-based primer are the professional choices for this application. Apply a full, even coat and allow a minimum of 24 hours to cure before topcoating.
How do I stop wallpaper seams showing through paint?
Apply seam adhesive to all lifting edges first and allow to dry. Skim coat any gaps or steps at seam edges with joint compound and sand lightly to reduce the physical ridge at each seam. Apply an oil-based primer over the full surface, then two coats of topcoat. Even with all these steps, seams are often still detectable under raking light — complete elimination without removing the wallpaper is rarely achievable.
Is it worth removing old wallpaper before selling?
Yes, in most cases. Buyers and building inspectors notice painted-over wallpaper seams, and fresh smooth walls present significantly better at open homes. The cost of professional wallpaper removal combined with interior painting is almost always recovered in perceived value, particularly in Melbourne’s competitive inner-suburb market. For a specific recommendation, consult a pre-sale painting specialist.
How long does wallpaper removal take in a standard room?
Professional wallpaper removal in a standard Melbourne bedroom or living room (approximately 15–20 square metres of wall area) typically takes half a day to a full day, depending on the number of layers, the type of paste used, and the age of the installation. Older paste that has hardened significantly can extend removal time. Allow an additional 24–48 hours for walls to dry completely before painting begins.
Related Service: Interior Painting
Transform your living spaces with expert interior painting and premium Dulux finishes.
Learn more about our Interior Painting service →Modernize Solutions
Melbourne's most experienced residential painters since 1987.