Hiring a painter is the easy part. What most Melbourne homeowners underestimate is everything that happens before the first coat goes on and after the last coat dries. The difference between a painting project that runs smoothly and one that creates stress almost always comes down to preparation — yours, not just the painter’s. This checklist covers everything you need to do before, during, and after your painting project so nothing falls through the cracks.
Before the Painters Arrive
The week before your painters start is when the most important homeowner preparation happens. Completing this checklist means the crew can begin productive work immediately on day one, which keeps the project on schedule and avoids delays that cost everyone time.
Colour decisions (finalise 1–2 weeks before)
- Confirm all colours in writing with your painter. Do not leave colour decisions to the first morning — this delays the entire project while the painter waits for direction or makes a trip to the paint store.
- Test colours on the actual walls if you have not already. Paint two A3-sized patches of each colour option on the wall that gets the most natural light and check them at morning, midday, and late afternoon. Colours shift dramatically between lighting conditions. See our colour selection guide for the full testing method.
- Confirm the sheen level for each room. Matt and low sheen are standard for living areas and bedrooms; semi-gloss or satin for kitchens, bathrooms, and all trim. See our paint finish guide for room-by-room recommendations.
- Keep your colour codes on hand. Write down the exact Dulux (or Haymes) colour code and product name for every colour being used. This is essential for future touch-ups.
Room preparation (2–3 days before)
- Remove wall art, mirrors, shelves, and curtains. Anything mounted on the walls needs to come down. Pack these safely in another room.
- Clear shelving and mantelpieces. Remove books, ornaments, photos, and any breakable items from shelves, mantels, and windowsills in the work area.
- Move small furniture out of the room where possible. Side tables, floor lamps, lightweight chairs, and storage units should be relocated to a room that is not being painted.
- Move large furniture to the centre of the room. Professional painters will cover large items with drop sheets, but positioning them centrally gives the crew clear access to all walls.
- Remove light switch covers and power point plates if you are comfortable doing so. This gives the painter clean access and eliminates the need for careful masking around each fitting.
- Take down curtain rods or blinds if painting above windows. If blinds are staying, confirm with the painter whether they will mask around them or need them removed.
Practical logistics (1–2 days before)
- Clear access paths. If the painter needs to bring ladders, scaffolding, or equipment through your home, ensure hallways and doorways are clear.
- Arrange pet care. Dogs and cats need to be kept well away from the work area. Paint fumes (even low-VOC), open paint cans, and wet surfaces are all hazards. Arrange for pets to stay in a closed room, the backyard, or with someone else for the duration of the work.
- Identify your parking situation. Professional painters need to park a vehicle (often a van or ute) close to the home for equipment and paint access. If you have a driveway, keep a spot clear. If street parking is limited, let the painter know in advance.
- Protect flooring in high-traffic paths. The painter will protect the room being painted, but you may want to lay old towels or a sheet in the hallway between the front door and the work area, especially if you have light-coloured carpet.
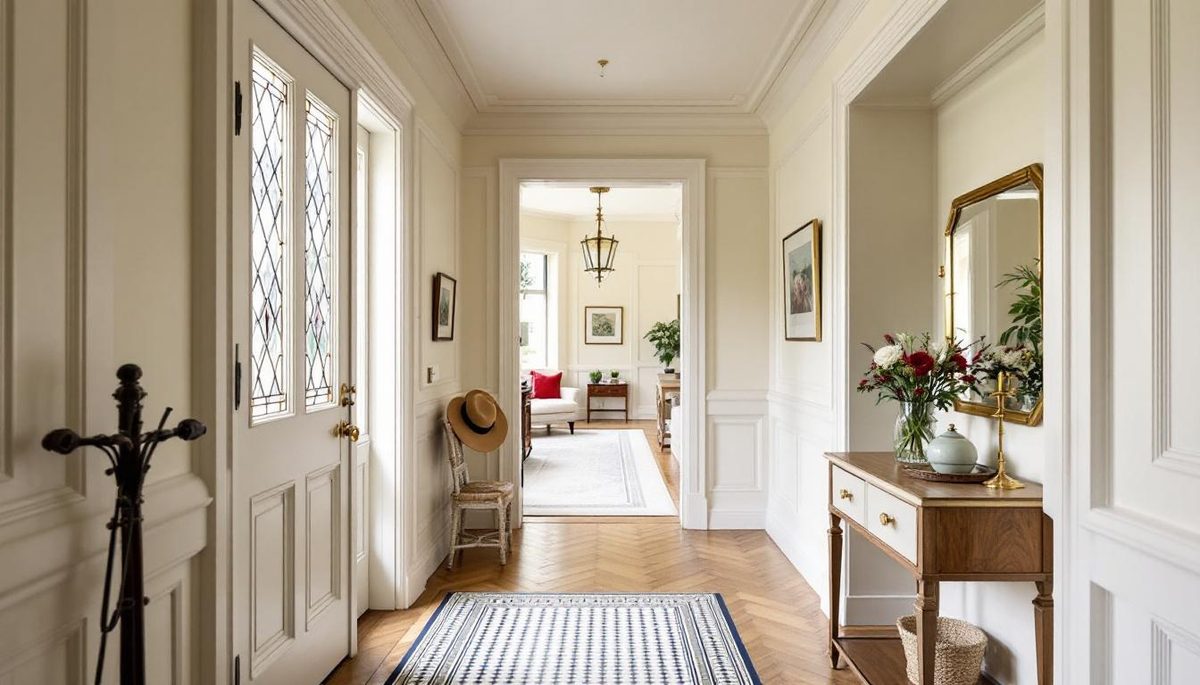
A clear, well-prepared entry hallway ready for the painters — removing wall art and small furniture before they arrive keeps the project on schedule.
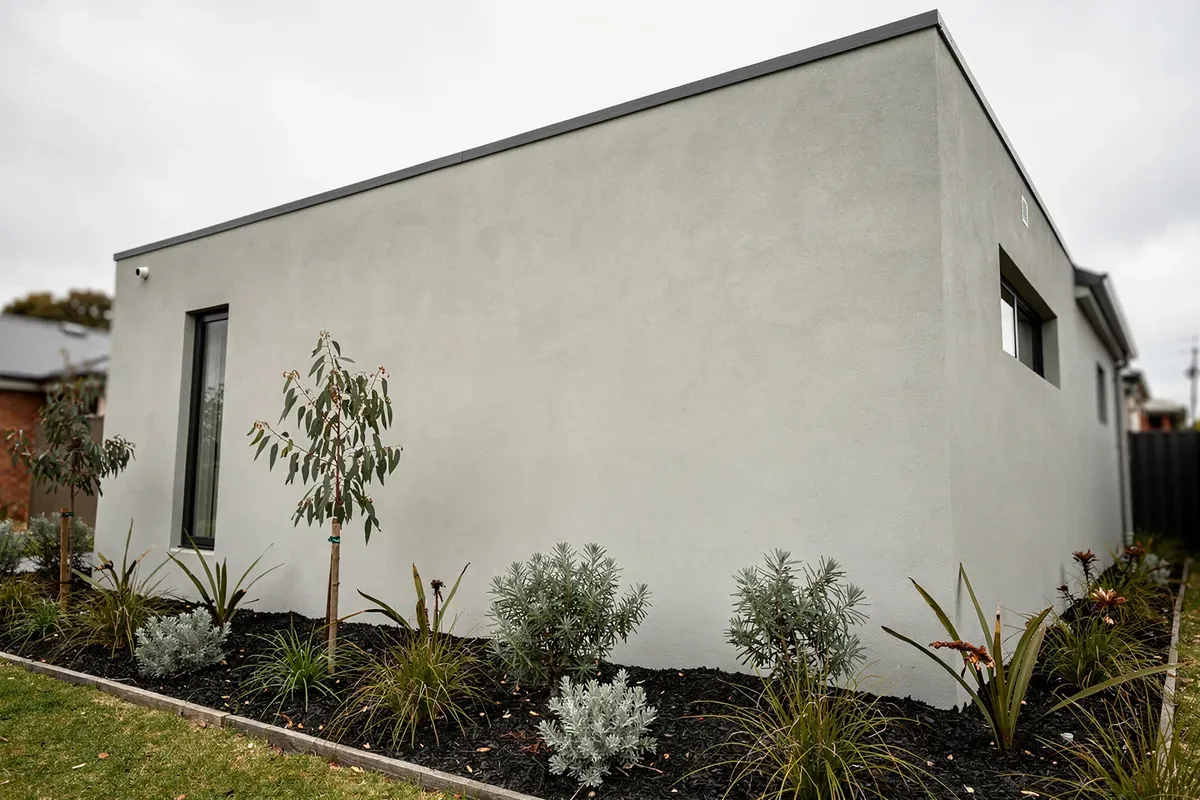
Exterior-specific preparation
- Trim back vegetation. Cut back any bushes, trees, or climbing plants that touch or overhang the walls being painted. The painter needs clear access and vegetation holding moisture against the wall will compromise the new paint.
- Move outdoor furniture and pots away from the house walls. The painter will use drop sheets, but moving items out of the way prevents accidental damage.
- Check for wasp nests and cobwebs under eaves and around window frames. Painters should not be dealing with pest problems — clear these before work begins.
- Note any external damage — cracked render, rotten timber, loose weatherboards, damaged gutters. Photograph these and show the painter before work starts so the scope accounts for any repairs needed.
During the Painting Project
Once work begins, your role shifts to communication and staying out of the way. Professional painters work most efficiently when they have uninterrupted access to the work area.
Communication
- Establish a daily check-in routine. A quick conversation at the start or end of each day to review progress and flag anything is enough. You do not need to supervise the work.
- Raise concerns immediately. If you notice something that does not look right — a colour that looks different from what you expected, a section that appears patchy, or an area being skipped — mention it the same day. Most issues are easily addressed between coats.
- Confirm colour on the wall before the second coat. The first coat often looks uneven, patchy, or slightly different from the swatch. This is normal. But check the colour itself — if it reads differently from what you expected, now is the time to say so, before the second coat locks it in.
What to expect day by day
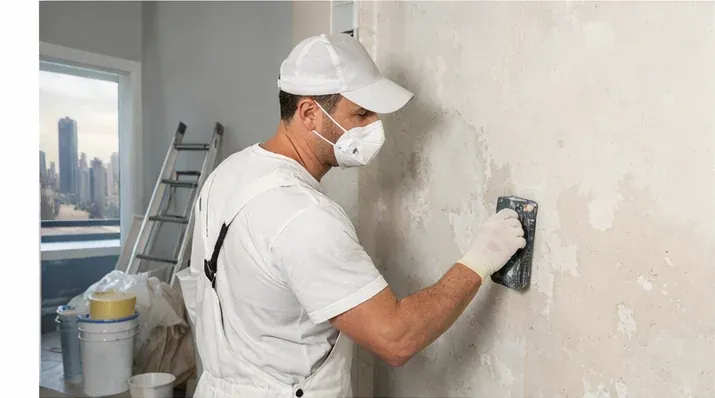
- Day 1 (interior): Furniture protection, masking, surface preparation — filling holes, sanding, spot-priming. You may not see any colour on the walls on day one. This is normal and a good sign — it means preparation is being done properly.
- Day 1 (exterior): Pressure washing, scraping, sanding. The house may look worse before it looks better as all the failing paint is removed.
- Mid-project: First coats going on. Rooms will be inaccessible while paint is wet and drying. Plan to stay out of the painted areas for at least 2–4 hours after each coat.
- Final days: Second coats, enamel work on trim and doors, touch-ups, and clean-up.
Living in the home during painting
- Ventilate painted rooms — Open windows where possible to speed drying and reduce any paint smell. Modern water-based paints like Dulux Wash&Wear are low odour, but ventilation still helps.
- Keep children and pets away from wet paint. Touch-dry in 1–2 hours does not mean fully cured. Avoid contact with freshly painted surfaces for 24 hours.
- Expect some disruption. Rooms will be out of use during the day they are painted. Plan meals, work-from-home setups, and sleeping arrangements around the painter’s schedule.
- Dust is normal during preparation. Sanding and filling creates fine dust that can settle on nearby surfaces. The painter should contain it with drop sheets and clean up daily, but do not expect the rest of the house to stay pristine during prep days.
After the Painting Is Complete
The project is not finished when the painter packs up. A proper handover and your first few weeks of care determine whether the finish lasts its full lifespan.
Final inspection (day of completion)
Walk through every painted room with the painter and check the following:
- Coverage — Look for any patchy or thin areas, especially on colour-change walls where old colours may show through
- Edges and cut-ins — Where walls meet ceilings, trim, and adjacent walls, the lines should be clean and straight
- Drips and runs — Check door frames, window frames, and skirting boards for any paint drips or sags
- Surface smoothness — Run your hand across repaired areas — filled holes and cracks should be invisible and smooth
- Consistent sheen — Each wall should have a uniform finish with no dull patches or shiny spots
- Trim and enamel work — Doors, architraves, and skirting boards should have clean brush lines with no visible brush marks
- Clean-up — All drop sheets removed, masking tape removed, paint splatters on floors or fixtures cleaned up
Inspect in natural daylight
Always inspect finished paintwork in natural daylight, not under artificial lights. Daylight reveals imperfections — missed patches, uneven coverage, visible brush marks — that are invisible under warm interior lighting. Open curtains and blinds fully and check every wall surface.
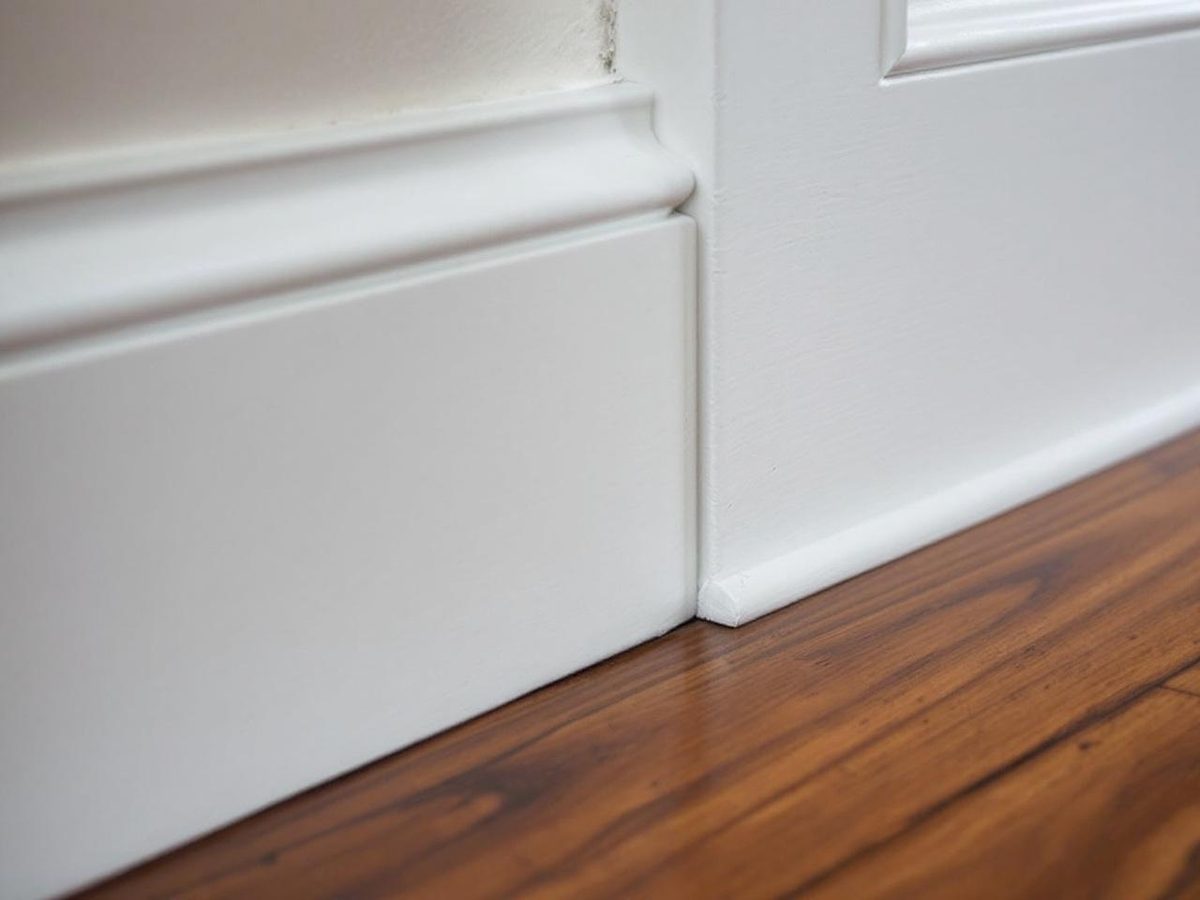
Quality enamel work on skirting boards — check for clean lines, no brush marks, and consistent sheen during your final inspection.
Touch-ups and warranty
- Ask the painter about touch-up paint. Most professional painters will leave a small amount of each colour used so you can address minor marks and scuffs over time. Label each container with the room and colour code.
- Clarify the warranty or guarantee. Ask what is covered and for how long. Reputable painters stand behind their work and will return to address any defects that appear within a reasonable period — typically 2–5 years for workmanship issues.
- Report any defects promptly. If you notice peeling, bubbling, or adhesion issues within the first few months, contact the painter immediately. Early failures are almost always a preparation or product issue that should be rectified under warranty.
Curing period (first 2–4 weeks)
Fresh paint is touch-dry within hours but takes 2–4 weeks to fully cure. During this period:
- Do not wash painted walls. Avoid wiping or cleaning for at least 2 weeks. Water-based paints need time to harden fully.
- Do not hang pictures or shelves. Wait 2–4 weeks before drilling into or hammering nails into freshly painted surfaces. The paint needs to cure before it can withstand that kind of stress without chipping.
- Avoid placing furniture hard against walls. Leave a small gap between furniture and freshly painted walls for the first 2 weeks to prevent the paint surface from sticking or marking.
- Keep rooms ventilated. Good airflow speeds curing and helps the paint reach full hardness and durability faster.
Ongoing maintenance
A quality paint job is an investment. Proper maintenance extends its life significantly.
- Dust walls every 3–6 months with a soft dry microfibre cloth or duster. Dust build-up on paint surfaces attracts moisture and can cause discolouration over time.
- Clean marks and scuffs promptly. Use a soft damp cloth with mild soapy water. For tougher marks on washable finishes like Dulux Wash&Wear, a gentle scrub will not damage the surface. Avoid abrasive cleaners, steel wool, or harsh chemicals.
- Address chips and scratches immediately. Small touch-ups prevent moisture from getting under the paint film and causing larger-scale failure. Use the leftover paint your painter provided.
- Monitor exterior paint annually. Walk around the outside of your home once a year and check for early signs of paint failure — chalking, cracking, peeling on exposed surfaces. Catching problems early means a spot repair rather than a full repaint.
- Keep an eye on wet areas. Kitchens, bathrooms, and laundries are the highest-wear areas for paint. Good ventilation (rangehood, exhaust fans, open windows) prevents moisture damage to the paint film and underlying walls.
The Complete Checklist
Before
- ☐ Finalise all colour choices and confirm with painter in writing
- ☐ Confirm sheen levels for each room
- ☐ Record colour codes for future touch-ups
- ☐ Remove wall art, mirrors, shelves, curtain rods
- ☐ Clear shelving, mantelpieces, windowsills
- ☐ Move small furniture out; large furniture to room centre
- ☐ Remove light switch and power point covers
- ☐ Clear access paths for painter equipment
- ☐ Arrange pet care for the duration
- ☐ Reserve parking for painter vehicle
- ☐ Trim vegetation away from exterior walls
- ☐ Move outdoor furniture and pots away from walls
- ☐ Check for and remove wasp nests under eaves
- ☐ Photograph any damage to discuss with painter
During
- ☐ Quick daily check-in with the painter
- ☐ Confirm colour on walls before second coat
- ☐ Raise any concerns the same day
- ☐ Keep children and pets away from wet paint
- ☐ Ventilate rooms after painting
- ☐ Plan meals and sleeping around the painting schedule
After
- ☐ Walk through every room with the painter for final inspection
- ☐ Check coverage, edges, drips, smoothness, and sheen
- ☐ Inspect in natural daylight
- ☐ Collect leftover touch-up paint — label with room and colour code
- ☐ Clarify warranty terms
- ☐ Do not wash walls for 2 weeks
- ☐ Do not hang pictures or shelves for 2–4 weeks
- ☐ Keep furniture away from walls for 2 weeks
- ☐ Schedule annual exterior inspection
How Modernize Solutions Manages Your Project
At Modernize Solutions, we manage every painting project with clear communication from start to finish. Before work begins, you receive a detailed written scope and timeline so you know exactly what to expect each day. The owner is on site for every project — no project managers, no subcontractors, no handoffs.
We use Dulux premium products as standard, and we leave labelled touch-up paint for every colour used. Every job includes a walk-through inspection with the homeowner on completion, and we stand behind our workmanship with a clear guarantee.
With 35+ years painting Melbourne homes, $20M public liability insurance, and rated 4.8 stars on Google (154 reviews), we make the process simple. Call 0451 040 396 for a free quote — or request a quote online.
Frequently Asked Questions
What do I need to do before my house painter starts work?
Remove wall art, mirrors, curtains, and valuables from the rooms being painted. Move small furniture out and large furniture to the centre of the room. Clear access paths, finalise colour choices, and arrange pet care. The more you prepare, the faster the crew can begin productive work on day one.
Do I have to move all my furniture out before the painters come?
No. Professional painters move remaining large furniture to the centre of the room and cover it with drop sheets. Your responsibility is clearing small items, wall-mounted objects, shelving contents, and breakable items. Heavy items like beds and sofas can usually stay in the room.
How do I inspect a paint job to make sure it was done properly?
Inspect in natural daylight. Check for even coverage, clean straight edges where walls meet ceilings and trim, no drips or runs, consistent sheen, and smooth surfaces where repairs were made. Run your hand across the wall — it should feel uniformly smooth. Pay close attention to trim, corners, and areas around light switches.
How long after painting can I hang pictures and shelves on the wall?
Wait 2–4 weeks. While paint is touch-dry within hours, it takes 2–4 weeks to fully cure. Drilling or hammering into walls before the paint has cured causes cracking and chipping around the fixture point.
How do I keep my painted walls looking good for longer?
Dust walls every 3–6 months with a soft cloth. Clean marks promptly with a damp cloth and mild soapy water. Address chips and scratches immediately with touch-up paint. Keep rooms ventilated, especially kitchens and bathrooms. A quality paint job with proper maintenance lasts 7–10 years on interiors and 10–15 years on exteriors.
Related Service: Interior Painting
Transform your living spaces with expert interior painting and premium Dulux finishes.
Learn more about our Interior Painting service →Modernize Solutions
Melbourne's most experienced residential painters since 1987.